Photo Effects: How to Use Ready-Made Looks on Your Photos
 by Aristotto4 min
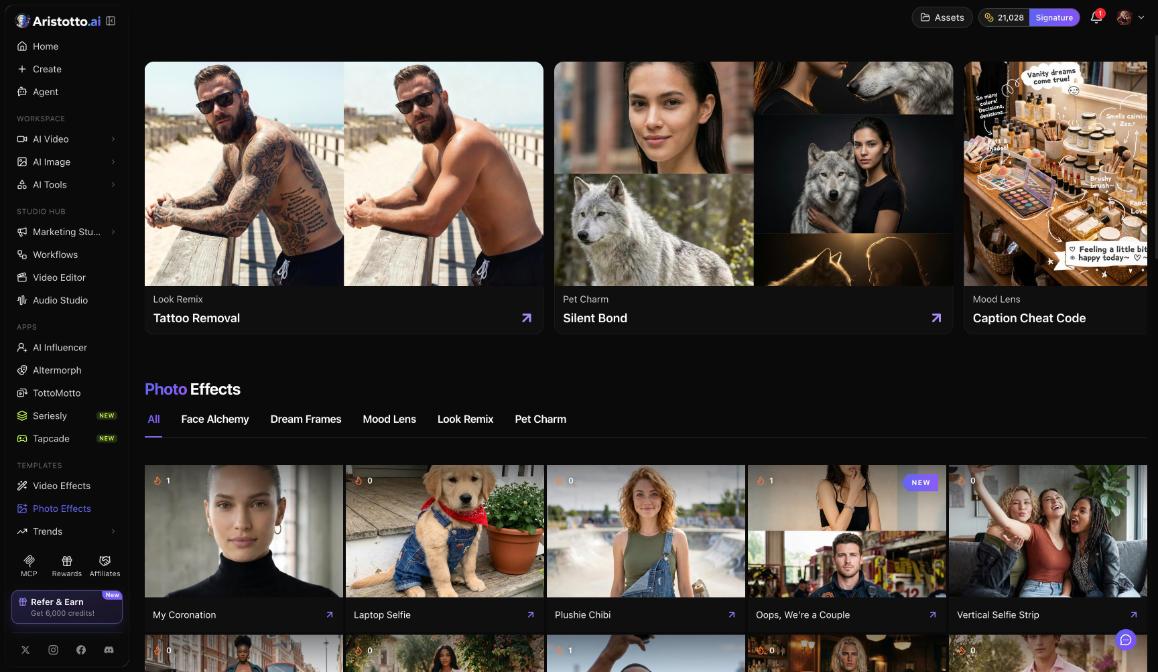
Photo Effects are ready-made looks you put on your own photo. There are 40+ of them under Templates in the left rail, sorted into five categories. Pick one, upload your photo and press Generate. The price in credits shows on the Generate button before you press it, and the result lands in Assets.
Where to find Photo Effects
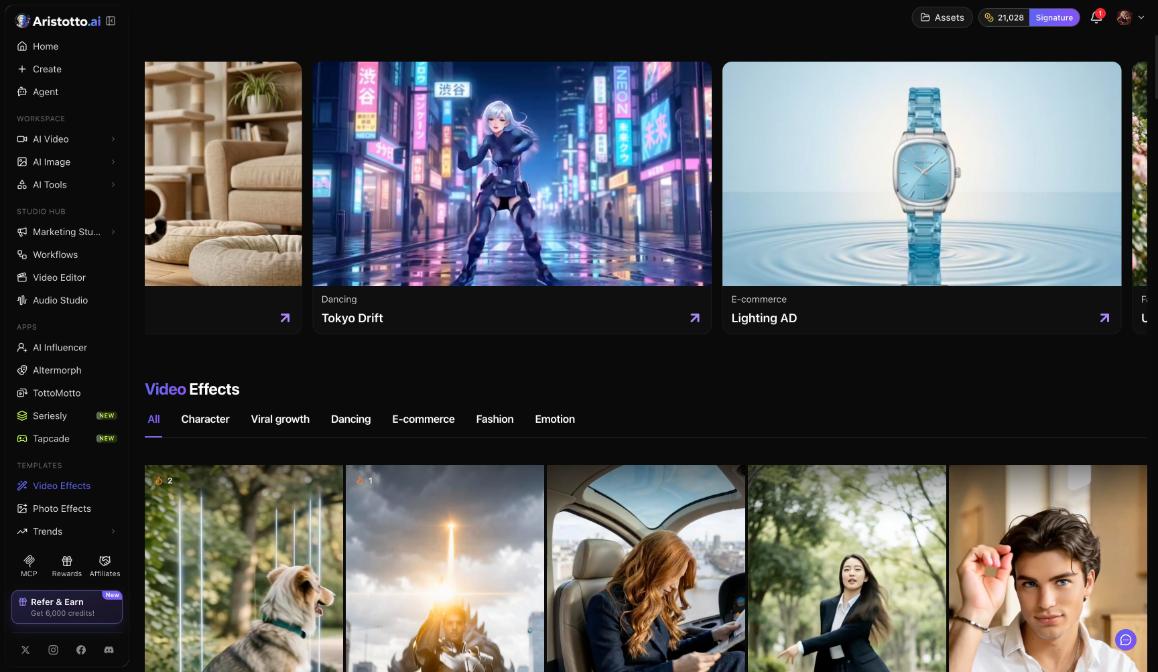
Photo Effects sit in the Templates group of the left rail, next to Video Effects, Trends and Audio Library. The page sorts the looks into five categories:
Face Alchemy
Dream Frames
Mood Lens
Look Remix
Pet Charm
Examples on the page today include My Coronation, Laptop Selfie, Plushie Chibi, Tattoo Removal and Silent Bond. Browse a category, open the look you want and start from there.
How to use a photo effect
Open Templates in the left rail and choose Photo Effects.
Browse the categories and pick an effect.
The effect opens in the workspace, already set to that effect.
Upload your photo.
Check the price on the Generate button.
Press Generate.
Your result shows in My Generations in the workspace (tabs All, Images, Videos, Audios) and in Assets in the header.
What a photo effect costs
Each run shows its price in credits on the Generate button before you press it. Prices depend on the model, the resolution, the quality and how many results you ask for, so check the button each time.
Plan credits are used first, then purchased credits, oldest first.
Failed, timed-out and partly failed runs are refunded automatically.
You can cancel a run only while it is still queued. Once it starts, it runs to the end.
Settings, Usage keeps a History ledger you can filter by feature, by action (Spent, Refunded) and by date.
Find, keep and share your results
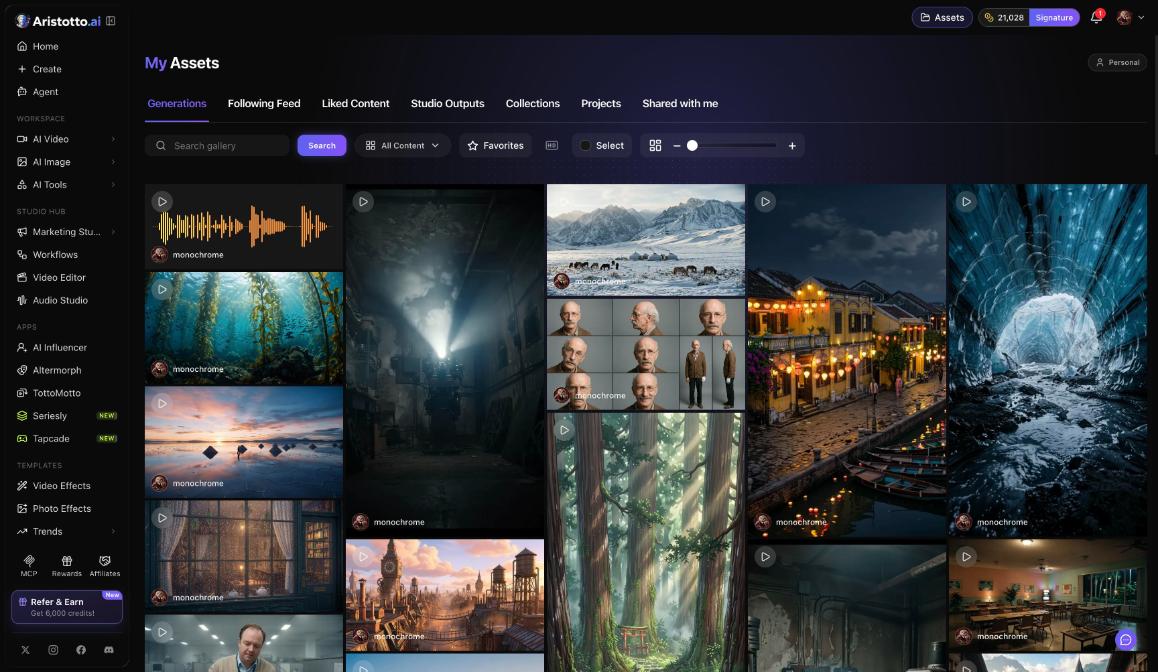
Your result is saved in Assets in the header. Its tabs are Generations, Following Feed, Liked Content, Studio Outputs and Collections. You can search the gallery, filter All Content or Favorites, change the grid size, or use Select many to work on several results at once.
Outputs are private by default. You make one public or private from the preview, the result row, Assets (in bulk) or your profile. Once a result is public:
Community Creations, under Community in the rail, shows public images and videos.
Its share page has Share (Facebook, X, Reddit, Copy link) and Download. As the owner, you download it without a watermark.
Your profile counts your videos, images, effects and likes.
Take a result further with AI Tools
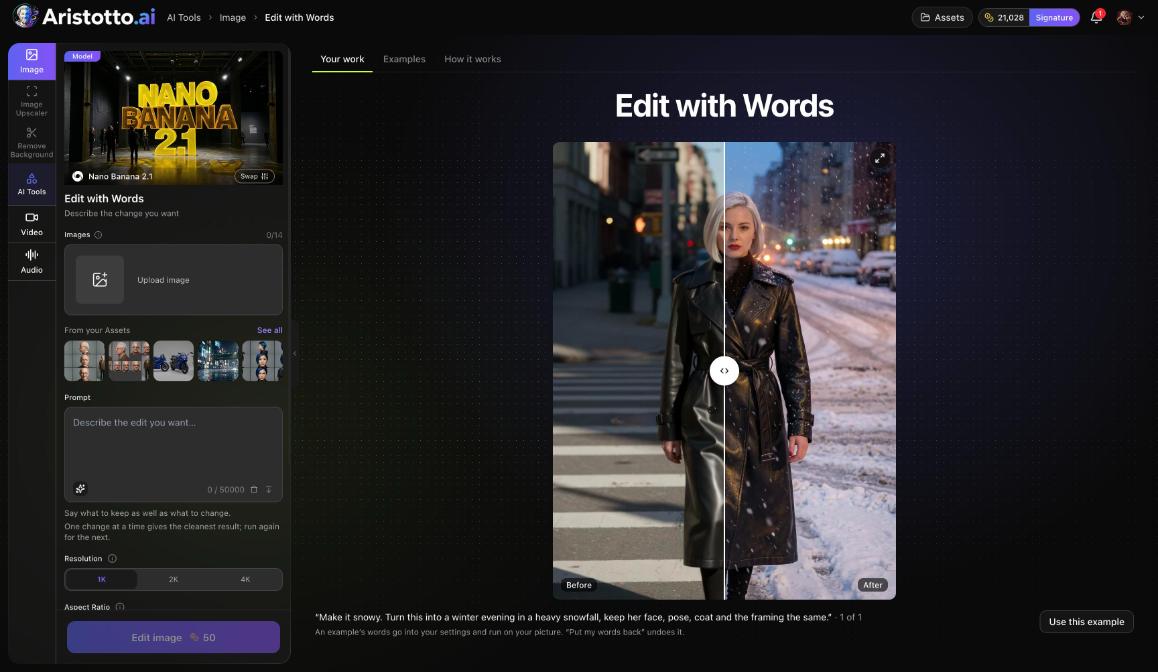
AI Tools, in the Workspace group of the rail, has 10 image tools. A tool page takes your file as an upload or From your Assets, so you can pick up an effect result straight from your library.
Image Upscaler: makes a picture sharper and up to 4x larger.
Remove Background.
Expand Image.
Erase Objects: paint over something and it is gone.
Edit with Words: describe the change you want.
Camera Angle: the same shot from another angle.
Each tool shows its price on the button, and results go to Assets.
Questions
Where do I find Photo Effects?
Open Templates in the left rail and choose Photo Effects. Picking an effect opens the workspace already set to it.
How much does a photo effect cost?
The price in credits shows on the Generate button before you press it. It depends on the model, resolution, quality and number of results.
Who can see my results?
Only you, until you choose otherwise. Outputs are private by default, and you can make one public from the preview, the result row, Assets or your profile.
Is my uploaded photo used to train AI models?
Not unless you turn it on. In Settings, Privacy, Allow training on my uploads is off by default.
What happens if a run fails?
Failed, timed-out and partly failed runs are refunded automatically. The refund shows in your Usage history.